Creative Ways to Use a Bee Mason Jar for Honey and Decor
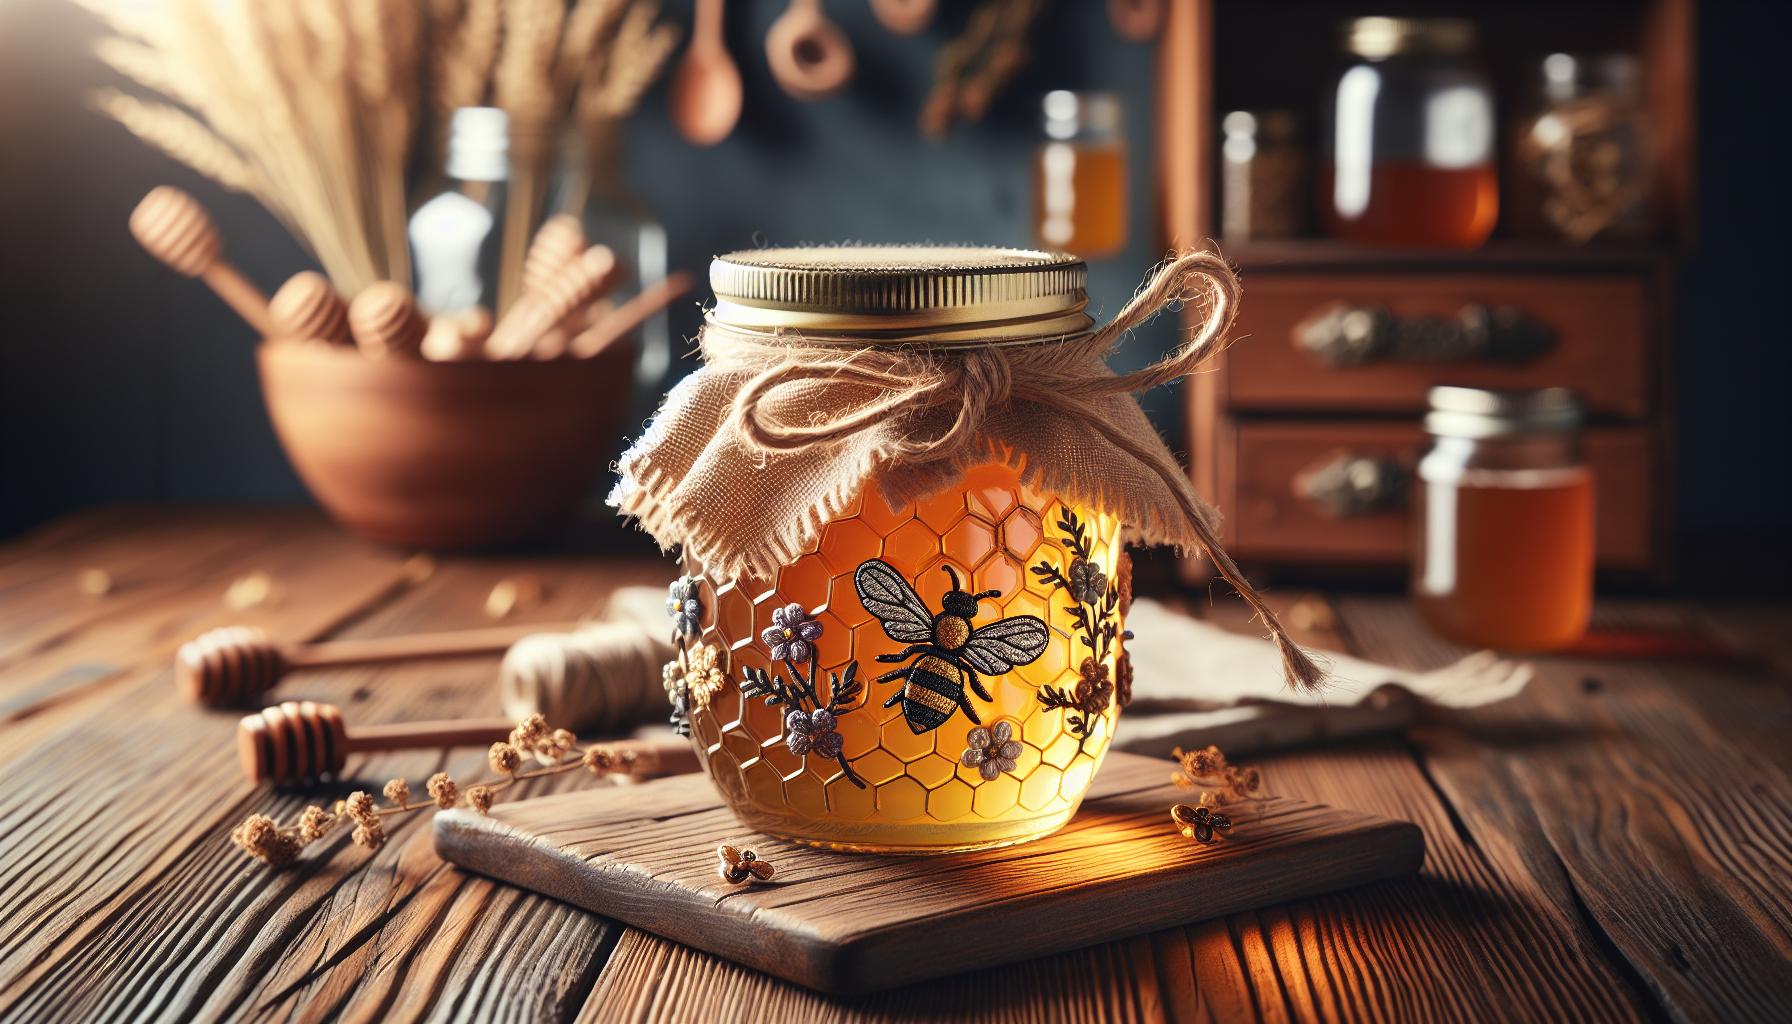
If you’re looking for a charming way to store honey or add a touch of nature to your home decor, a bee mason jar might be just what you need. These delightful jars combine functionality with a whimsical design, making them perfect for both practical use and decorative purposes. Imagine showcasing your favorite honey or homemade preserves in a jar adorned with adorable bee motifs.
Not only do bee mason jars elevate your kitchen aesthetics, but they also serve as a conversation starter. Whether you’re hosting a brunch or simply enjoying a quiet afternoon, these jars bring a sweet touch to any setting. Plus, they make fantastic gifts for bee lovers, foodies, or anyone who appreciates unique kitchenware. Dive into the world of bee mason jars and discover how they can enhance your home while celebrating the vital role bees play in our ecosystem.
How to Make a Bee Mason Jar
Making a bee mason jar combines creativity with practicality. Follow these steps to create your own charming bee-themed storage.
Gather Materials
- Mason Jar: Choose a clear mason jar. Various sizes work well.
- Bee Decor: Look for bee stickers or bee-shaped charms. These add appeal.
- Paint or Spray: Use yellow and black paint for bee designs. Non-toxic options are ideal.
- Brushes: Get medium to fine brushes for detailed painting.
- Lid: Ensure the lid matches. Consider painting it to complete the look.
- Honey or Preserves: Fill the jar with honey, jam, or other favorites.
Prepare the Jar
- Clean the Jar: Wash the mason jar thoroughly. Dry completely.
- Condition the Surface: Lightly sand the jar if painting for better adhesion.
Design the Jar
- Apply Bee Decor: Stick bee-themed stickers onto the jar. Position them where they will stand out.
- Paint Bees: If painting, create simple bee shapes. Paint stripes and wings. Let dry before handling.
Fill the Jar
- Add Honey or Preserves: Pour honey or jam into the jar, leaving space at the top.
- Seal the Lid: Affix the lid tightly to prevent spills.
Finishing Touches
- Accessories: Tie twine or ribbon around the jar's neck. Attach a small tag if gifting.
- Display: Place on kitchen shelves or counters. Use as a centerpiece at gatherings.
Care Tips
- Wipe Regularly: Keep the jar clean by wiping the outside.
- Store in a Cool Place: Avoid direct sunlight to keep contents fresh.
Creating a bee mason jar blends fun and function. Enjoy crafting while celebrating the humble bee.
Materials Needed
Gathering the right items plays a vital role in creating an appealing bee mason jar. The following components and decorative items enhance both the functionality and aesthetics of your project.
Bee Mason Jar Components
- Mason Jar: Choose a standard canning jar, preferably in a size like 16 ounces or 32 ounces, depending on intended use.
- Lid: A two-piece canning lid seals the jar securely and helps preserve contents.
- Honey or Preserves: Select your favorite honey variety or fruit preserves to fill the jar.
- Label: Use adhesive labels or tags for noting the contents and date, adding a personal touch.
- Jute Twine or Ribbon: Use this material to tie around the jar neck, providing a rustic look.
Optional Decorative Items
- Bee Stickers: Stickers featuring bees or honeycombs add a fun element to the jar’s appearance.
- Paints: Utilize non-toxic paints for decorative designs, creating custom embellishments on the jar surface.
- Glitter: Apply non-toxic glitter for a sparkle effect; ensure it complements the theme.
- Dried Flowers: Attach small dried flowers to the jar for a natural and organic touch.
- Beeswax Wraps: Cover the lid with beeswax for a bees-themed flair; it adds charm while maintaining freshness.
These materials ensure you create a stunning and functional bee mason jar that showcases both your personality and the importance of bees within our ecosystem.
Tools Required
Gathering the right tools ensures a smooth process for creating your bee mason jar. Below is a list of essential tools and safety equipment necessary for the assembly.
Essential Tools for Assembly
- Standard canning jar: Use a clear glass canning jar with a secure lid for storing honey or preserves.
- Screwdriver: A flathead screwdriver assists in tightening or securing any additional features on the jar.
- Scissors: Sharp scissors are essential for cutting jute twine, ribbon, or any decorative elements.
- Paintbrush: A clean paintbrush applies non-toxic paints or finishes to the jar surface.
- Adhesive or glue: Choose a non-toxic adhesive for attaching decorative items like bee stickers or dried flowers.
- Measuring tape: A measuring tape aids in precise cuts when adjusting twine or ribbon lengths.
- Label maker or pen: Utilize a label maker or a permanent pen for creating and applying adhesive labels for clarity.
These tools contribute significantly to assembling a visually pleasing bee mason jar while ensuring functionality.
Safety Equipment
- Protective gloves: Wear disposable gloves when handling paints or adhesives to protect your skin from irritation.
- Safety goggles: Use safety goggles when cutting or applying glue to prevent any debris or adhesives from getting into your eyes.
- Dust mask: A dust mask is advisable when using paints or glitter to avoid inhaling any particles that may arise during application.
- First aid kit: Keep a first aid kit nearby for any minor cuts or injuries that may occur during the crafting process.
Utilizing these safety items promotes a secure environment while creating your bee mason jar, ensuring you can focus on your creative project.
Step-by-Step Instructions
Follow these simple steps to create a charming bee mason jar. Each section provides clear guidance to help you craft your unique jar effectively.
Preparing the Mason Jar
Wash the mason jar with warm, soapy water. Rinse thoroughly and allow it to dry completely. Inspect the jar for any residue or imperfections. If necessary, use rubbing alcohol to clean the inside and outside of the jar. This step ensures a clean surface for applying decorations. Gather your adhesive labels and make sure they are ready for use. If preferred, paint the lid using non-toxic paint, allowing it to dry completely before proceeding.
Adding the Bee Design
Select your desired bee-themed decorations such as stickers or non-toxic paints. If using stickers, carefully position them on the jar's outer surface. For painting, use a paintbrush to apply bee designs directly on the jar. Follow simple patterns like stripes or dots to enhance the bee theme. Allow any paint to dry fully before adding additional layers, if desired. Incorporate dried flowers or glitter for added flair to the design. This part brings the personality of the jar to life, making it visually appealing.
Filling the Jar
Choose your filling, such as honey or preserves. Use a funnel for easy pouring, preventing spills during the transfer. Fill the jar slowly, ensuring you leave some space at the top. This prevents overflow and makes securing the lid easier. Once filled, wipe the jar's rim with a clean cloth to remove any sticky residue. This keeps the lid secure and provides a neat appearance. If desired, consider adding a decorative layer of beeswax wrap over the top before placing the lid on. This adds an extra touch while helping to maintain freshness.
Securing the Lid
Ensure the mason jar is filled to your preference and the rim is clean. Place the two-piece lid on top, aligning it properly for a secure fit. Tighten the metal ring gently to prevent leaks while ensuring it is not overly tight. Consider adding jute twine or ribbon around the lid for a rustic look, tying it into a bow for decoration. This not only enhances aesthetics but also provides an easy grip for opening the jar. Check for any gaps between the lid and jar; adjust the ring if necessary to ensure a secure closure.
Helpful Tips for a Successful Project
Choosing the Right Type of Jar
Selecting the correct type of jar matters for your bee mason jar project. Look for a standard canning jar, which features a straight shape and a two-piece lid that seals effectively. Sizes like half-pint or pint work well. Consider glass jars over plastic ones for durability and a classic look. Pick jars with wide openings if you plan to add larger decorations or fillings. Clear glass allows visibility, showcasing honey and preserves beautifully. Avoid jars with intricate designs that might complicate decoration or make cleaning difficult. Always check for any cracks or defects to ensure safety during use.
Best Practices for Adhering Decorations
Adhering decorations requires careful planning for best results. Clean the surface of the jar thoroughly to ensure the decorations stick well. Use non-toxic adhesive suitable for glass surfaces. Apply glue evenly and in small amounts to avoid mess. Stickers and decals work better when smoothed out to eliminate air bubbles. For paint, use a fine brush for precision and apply in thin layers, allowing each layer to dry before adding more. Incorporate additional items like dried flowers or ribbon securely by using strong glue or tying them tightly. Always let the jar dry completely before handling to ensure the decorations stay intact. These practices enhance the jar’s overall appearance and maximize its longevity.
Troubleshooting Common Issues
Addressing common issues ensures your bee mason jar project turns out as planned. Below are solutions to frequent problems encountered during crafting.
Problems with Adhesion
Adhesion issues can arise when decorations do not stick well to the jar surface. Ensure the jar is clean and dry before applying any adhesive. Use a non-toxic adhesive that provides a strong bond. Avoid placing heavy decorations that can shift or fall off over time. For best results, press each decoration firmly in place for at least 10 seconds. Allow sufficient drying time before moving or displaying the jar. If decorations still detach, consider reapplying adhesive or using a stronger alternative like hot glue.
Incorrect Sizing of Decorations
Incorrect sizes of decorations can lead to an unappealing look. Measure the jar and select decorations that fit well without overwhelming the design. When working with stickers or labels, trim them to suit the jar's shape. Use a ruler for precise measurements, ensuring a neat appearance. If you opt for additional embellishments like ribbons or twine, cut them to the appropriate length to prevent clutter. Testing a layout before adhering items helps visualize the final design and make necessary adjustments.
Handling Breakage or Damage
Breakage or damage can occur during crafting or display. Handle glass jars with care to avoid accidents. If a jar breaks, clean up small shards safely using gloves and a dustpan. For minor scratches or chips, sand the edges lightly using fine-grit sandpaper for a smoother appearance. If you discover a significant crack, consider replacing the jar. For future projects, reinforce the jar by applying protective coatings or storing it in secure places when not in use.
Alternative Methods
Explore various alternative methods to create bee-themed storage solutions that do not rely solely on traditional mason jars.
Using Other Containers
Consider using a variety of containers to achieve a similar look and functionality as bee mason jars. Glass containers with tight-sealing lids such as spice jars or condiment bottles offer great alternatives. These options provide visibility for your honey or preserves while ensuring freshness. In addition, ceramic or metal containers bring durability and can suit different decorative styles. Canning jars come in various shapes and sizes, allowing you to customize your look. Repurposed food jars also serve well; just ensure they clean thoroughly before use. Such containers maintain the aesthetic impact of your bee-themed decor while supporting your environmental goals.
Different Decoration Techniques
Utilize various decoration techniques to personalize your containers beyond standard approaches. Hand-painting designs, such as bees or floral patterns, adds a custom touch and a playful emphasis. Crafting labels using fabric or paper with a bee motif enhances visual appeal. Decoupage methods, where cutouts are applied with a sealant, allow layering textural art for a unique look. Additionally, adding embellishments like twine, dried flowers, or ribbons furthers the theme. Apply glitter or sequins for sparkle, and ensure they do not hinder functionality. Each technique provides ways to express creativity while celebrating bees and their role in the ecosystem.
Conclusion
Embracing the charm of bee mason jars can transform your kitchen into a delightful space while celebrating the vital role of bees. These jars not only provide a unique way to store honey and preserves but also serve as a beautiful reminder of the importance of sustainability. By exploring various decoration techniques and alternative storage solutions, you can personalize your bee-themed creations and make them truly your own.
Whether you choose to craft a bee mason jar for yourself or as a thoughtful gift, you’ll find joy in the creative process. So gather your materials and let your imagination buzz as you create a stunning piece that enhances your home and honors nature.
Frequently Asked Questions
What are bee mason jars used for?
Bee mason jars are primarily used for storing honey and preserves. Their charming design also makes them a delightful decorative item in kitchens, adding a unique aesthetic while celebrating the importance of bees in our ecosystem.
How do you make a bee mason jar?
To make a bee mason jar, start with a clean standard canning jar. Decorate it with bee-themed items like stickers or paint, then fill it with honey or preserves using a funnel. Secure the lid and enhance its appearance with jute twine or ribbon.
What materials do I need for a bee mason jar?
You’ll need a standard canning jar, a two-piece lid, honey or preserves for filling, adhesive labels, and decorative items like bee stickers and non-toxic paints. Tools like a funnel and safety equipment are also advisable for the crafting process.
Can I use other containers besides mason jars?
Yes, you can use other containers like glass spice jars, ceramic, or metal containers. Repurposed food jars are also great as long as they’re thoroughly cleaned. These alternatives provide similar functionality and aesthetic appeal.
How do I care for my bee mason jar?
To maintain your bee mason jar, clean it gently by hand, avoiding abrasive materials. Keep it in a cool, dry place to preserve the integrity of the decorations and the contents. Replace any damaged parts promptly to maintain appearance and function.
What if the decorations don’t stick properly?
If decorations don’t adhere well, ensure the jar is clean and dry before applying adhesive. Use non-toxic glue designed for glass. If issues persist, retry with appropriately sized decorations or consult guidance for better adhesion techniques.
Are there alternatives to using stickers for decorations?
Yes, besides stickers, you can hand-paint designs, use decoupage methods, or craft custom labels to personalize your bee mason jars. This allows for creativity and individuality while still celebrating the bee theme.
How do I prevent breakage while crafting?
To prevent breakage while using glass jars, handle them with care and avoid applying excessive force. Work slowly when decorating to minimize accidents and ensure a safe crafting environment by using protective gear when necessary.
Ready to Buzz into Creativity?
Start crafting your own bee mason jar today and bring a little sweetness to your space! Whether you're gifting honey, decorating your kitchen, or celebrating your love for bees, this fun DIY is sure to make your heart—and home—smile.
Grab your supplies, follow our step-by-step guide, and let your imagination take flight!
Don’t forget to share your creations or tag us on social—we’d love to see your buzzing masterpieces!

Leave a comment