Understanding Beehive Queen Cells: Importance and Management Tips
In the fascinating world of bees, queen cells play a crucial role in maintaining the hive's hierarchy and health. These unique structures are not just a sign of reproduction; they're a testament to the resilience of a bee colony. When a hive faces challenges like a dying queen or overcrowding, it turns to these specialized cells to ensure survival.
Understanding queen cells can deepen your appreciation for these industrious insects and their intricate social systems. Whether you're a seasoned beekeeper or just curious about the buzzing world of bees, knowing how queen cells function is key to grasping the dynamics of a hive. Let’s dive into the lifecycle of queen cells and explore their significance in the beekeeping community.
Understanding Beehive Queen Cells
Beehive queen cells serve a crucial function in maintaining the health of a bee colony. They are specialized structures that ensure continuous leadership and reproduction within the hive.
What Are Beehive Queen Cells?
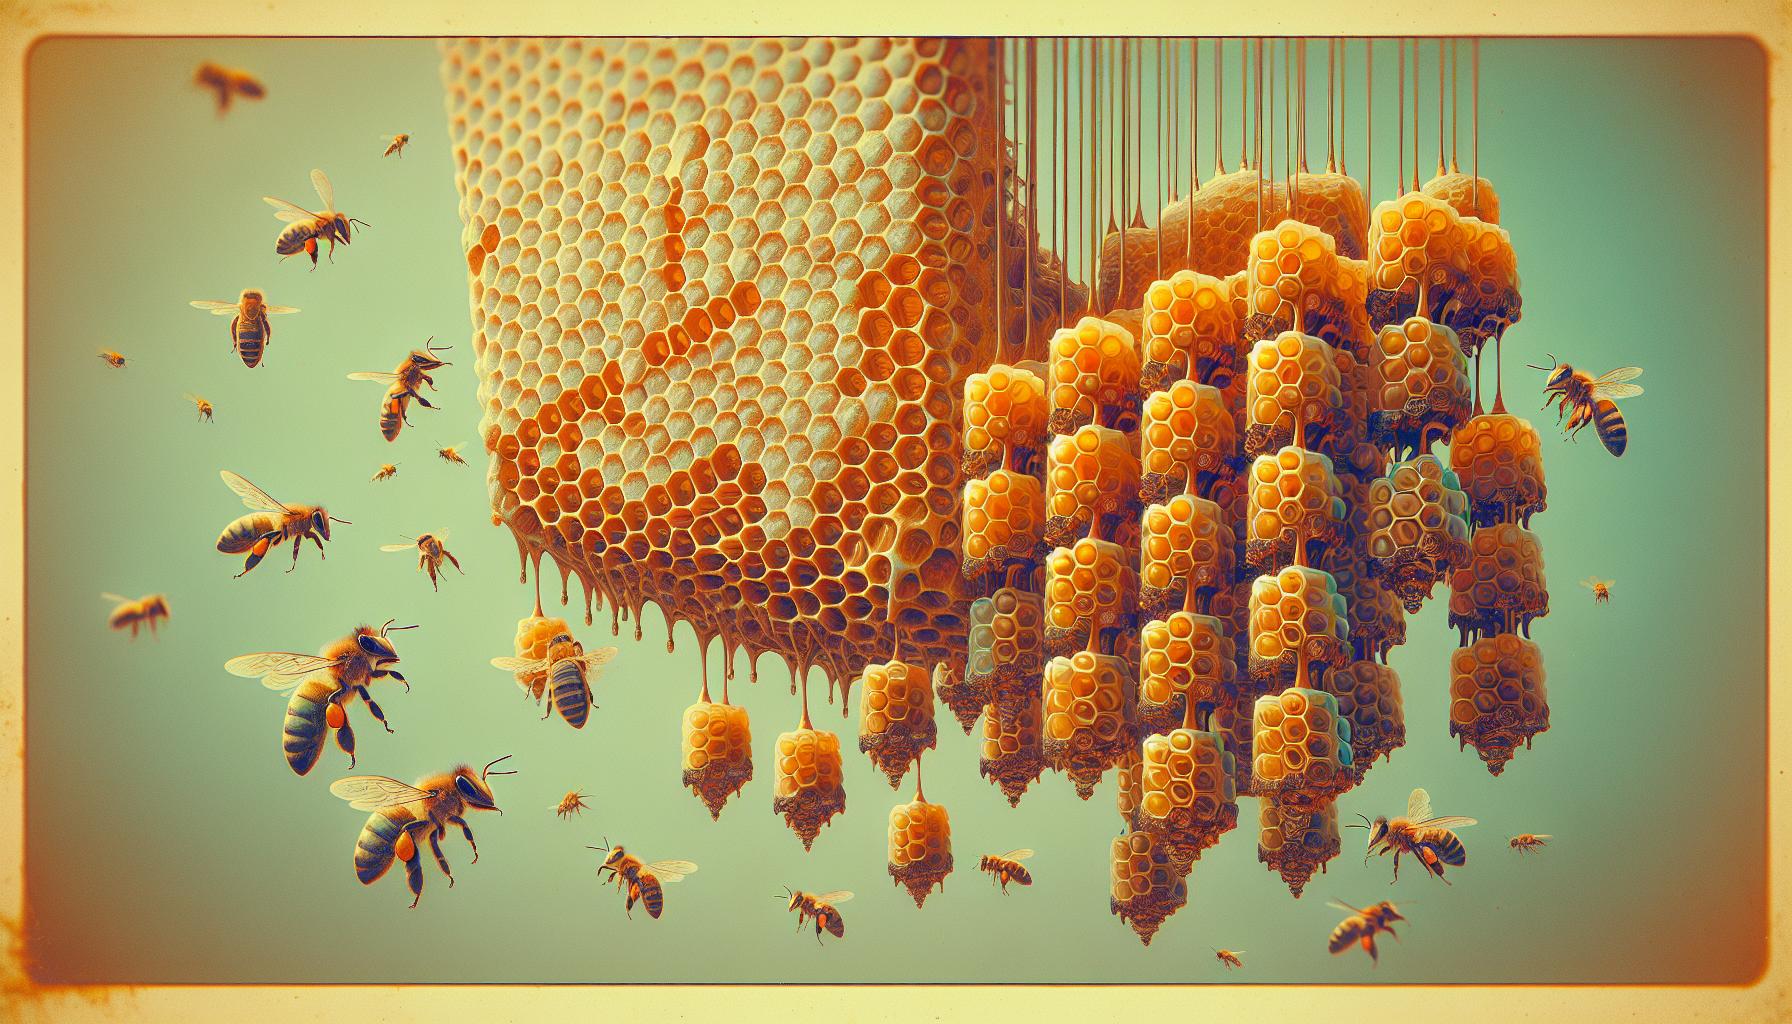
Beehive queen cells are unique, elongated structures in which new queen bees develop. They are larger than regular worker cells and hang vertically. These cells emerge when a colony needs to raise a new queen, often triggered by the aging of the current queen, a lack of eggs, or overcrowding. Queen cells contain larva that is fed a special diet of royal jelly, which leads them to develop into queens rather than worker bees. Once fully developed, the new queen will either emerge to take over the hive or engage in a mating flight to ensure genetic diversity in the colony.
Importance of Queen Cells in a Hive
Queen cells play a vital role in the hive's survival and overall health. First, they allow for the reproduction of new queens, which prevents colony collapse due to an unhealthy or aging queen. Second, they facilitate genetic diversity, promoting stronger and more resilient colonies. Lastly, during times of stress or overcrowding, queen cells offer a solution by allowing the existing queen to swarm, creating a new colony. This process ensures that both the old and new colonies can thrive. Proper management of queen cells directly impacts honey production and colony stability, making them a focal point for beekeepers.
Identifying Queen Cells
Identifying queen cells involves knowing the different types of cells and their characteristics. Recognizing their location and state within the hive aids in proper hive management.
Types of Queen Cells
- Emergency Queen Cells: Emergency cells arise when the current queen dies or is removed. Workers create these from existing eggs or young larvae. The priority is to produce a new queen quickly.
- Swarm Queen Cells: Swarm cells appear when a colony gets too crowded. Bees build these on the edges of frames, signaling they plan to swarm. These cells develop from larvae that receive special treatment to become queens.
- Supersedure Queen Cells: Supersedure cells occur when a queen is failing or aging. The colony raises a new queen while the old one remains present. Typically located in the central brood area, these cells aim to replace the old queen without swarming.
- Nectar Queen Cells: Nectar cells, though not as common, can form when conditions are favorable for extensive brood production. These cells patch pockets within the honey frames and are an indicator of colony health.
Recognizing Mature Queen Cells
Mature queen cells exhibit specific traits. First, cells usually measure around 2 inches long, resembling an elongated peanut shape. The exterior has a textured appearance, often with a waxy coating that differentiates them from worker cells.
Next, mature queen cells hang vertically from the comb, unlike other cells which lie flat. Inside, larvae can be seen at various stages of development. When observing, look for the presence of royal jelly, a creamy substance that nourishes the developing queen.
Finally, timing plays a role; mature cells mature in about 16 days. Checking cells after this time allows you to confirm their readiness. Be patient and observe the hive regularly to ensure proper queen development.
Common Locations of Queen Cells in the Hive
Queen cells are strategically placed within the hive. Typically, swarm cells appear on the bottom edges of frames, providing the bees a safe space for development before swarming.
Emergency cells often form in the middle of brood frames. This placement ensures that the workforce can quickly tend to them, as the old queen's disappearance necessitates rapid response.
Supersedure cells are commonly found in the central brood area. The colony identifies these cells as replacements for a failing queen, ensuring continuity and health.
In some instances, you'll find cells in less typical spots, such as between two frames or near the hive entrance. Always examine the hive thoroughly to locate these crucial structures, as their positioning can signal the health and future of the colony.
Materials Needed for Inspection
Inspecting queen cells requires specific tools and protective gear to ensure safety and efficiency during the process.
Tools for Hive Inspection
- Bee Suit: Equip yourself with a full-length bee suit that covers your body completely to protect against stings. Choose a suit made of breathable fabric to enhance comfort during inspections.
- Smoker: Use a smoker to calm the bees before opening the hive. Fill the smoker with dry wood chips or shredded paper. Puff smoke at the entrance before lifting the hive cover to create a more manageable environment.
- Hive Tool: Utilize a hive tool to pry open frames and inspect the hive's interior. A metal or wooden hive tool allows easy manipulation of frames without damaging the bees.
- Frame Grip: Employ a frame grip to lift frames more securely. This tool gives you a better hold on the frames, reducing the risk of crushing bees during inspections.
- Vision Aid: Keep a magnifying glass or a flashlight handy for close inspections for identifying immature queen cells on frames. These tools help in spotting details that may be hard to see with the naked eye.
Protective Gear for Beekeepers
- Bee Veil: Wear a bee veil to protect your face and neck from stings. Look for a veil that fits securely and does not obstruct your view.
- Gloves: Choose unlined gloves or rubber gloves with good grip. Ensure gloves are easy to move in for better dexterity when handling frames.
- Boots: Wear high-top boots to protect your ankles and legs from stings. Opt for footwear that is also easy to clean after inspecting the hive.
- Protective Clothing: Use additional protective clothing under your suit for an extra layer of safety. Consider wearing light-colored clothing, as bees often avoid dark colors.
- First Aid Kit: Maintain a first aid kit nearby for any sting reactions. Include antihistamines, ice packs, and antiseptic to address any potential issues quickly.
Inspecting Your Hive for Queen Cells
Inspecting your hive for queen cells involves a systematic approach to ensure the health and future of your colony. Regular checks reveal critical information about the state of your bees.
Step-by-Step Inspection Process
- Prepare your tools: Gather necessary items such as a bee suit, smoker, hive tool, and flashlight. Ensure your protective gear fits properly to enhance safety.
- Smoke the entrance: Use the smoker to calm the bees before opening the hive. A few puffs at the entrance ensure a smoother inspection process.
- Open the hive: Remove the top cover carefully. Place it in a safe area to avoid disrupting the bees below.
- Inspect frames: Take out frames one at a time, starting from the edge. Look for all types of queen cells: emergency, swarm, supersedure, and nectar.
- Examine cell characteristics: Identify mature queen cells by size and shape. They appear elongated, typically hanging vertically.
- Look for larvae: Check inside the cells for larvae fed royal jelly. Healthy cells contain well-fed larvae.
- Monitor overall hive activity: Observe bee behavior and comb conditions. Active bees and healthy combs indicate a thriving colony.
- Replace frames carefully: After inspection, return each frame to its original position to maintain hive structure.
Tips for Carrying Out a Successful Inspection
- Inspect regularly: Schedule inspections every 7 to 10 days during the active season. This helps you stay informed about queen production.
- Choose the right time: Inspect during warm days when bees are active. Early afternoon is ideal as most foragers return home.
- Work calmly: Maintain a slow and steady approach. Quick movements can alarm bees, leading to stings.
- Take notes: Document observations about queen cell types, larvae conditions, and overall hive health after each inspection.
- Avoid closing up too quickly: Take your time to ensure accuracy in your observations. Rushing can cause missed findings.
- Involve others for learning: Invite experienced beekeepers to join your inspections. They provide valuable insights and support.
- Stay organized: Keep tools and notes in a designated area. An organized setup reduces stress and minimizes forgotten equipment during inspections.
Managing Queen Cells
Managing queen cells effectively contributes to the overall health of your bee colony. This section provides practical steps to address queen cells and ensure optimal hive conditions.
Do You Need to Remove Queen Cells?
Assess the necessity of removing queen cells based on certain conditions. If the queen is healthy and laying eggs regularly, retain existing queen cells. Retaining queen cells allows natural development and strengthens the genetic makeup of the colony. However, if the colony lacks a queen or is preparing to swarm, removing excess queen cells may prevent chaos and ensure stability. Removing only some queen cells can balance colony needs. Always evaluate the hive's status during inspections to determine the right action regarding queen cells.
How to Safely Remove Queen Cells
Follow a structured approach to safely remove queen cells. Equip yourself with essential tools such as a hive tool and a frame grip. Start by smoking the hive to calm the bees. Gently pry apart the frames to avoid damaging the brood. Identify mature queen cells, which hang vertically and are larger than worker cells. Use the hive tool to cut the queen cell from the comb, being cautious not to harm surrounding brood. Place the removed queen cell in a safe container for relocation or discard it as needed. Always wear protective gear to prevent stings during the removal process.
Creating New Colonies from Queen Cells
Utilize queen cells to create new colonies effectively. Select healthy and mature queen cells for transferring. Prepare new equipment such as a queen cell incubator or a nuc box to house the developing queens. Gently move the selected queen cells into the new location, ensuring minimal disturbance. Provide adequate resources and space for the new colony to thrive, such as honey stores and sealed brood. Monitor the progress of the new queens as they emerge and mate, ensuring a sustainable population. Regular checks help ensure that the new colonies develop successfully without straining existing hives.
Common Issues with Queen Cells
Queen cells play a crucial role in the health of a bee colony. Addressing issues that arise with them is essential for maintaining colony stability.
What to Do If There Are No Queen Cells
If no queen cells exist, take immediate action to evaluate the hive's health. Assess the current queen's status, noting her age and egg-laying capacity. A queen that is old or failing may not produce enough eggs to sustain the colony. If the queen appears healthy but no queen cells are present, ensure adequate resources and environmental conditions within the hive. Inspect for signs of disease or pest infestations, as these factors can hinder queen cell development. If necessary, introduce a frame containing eggs or young larvae from another hive to encourage queen cell production. Monitor the situation closely to ensure that the colony begins to develop new potential queens.
Troubleshooting Abnormal Queen Cell Development
If queen cells develop abnormally, identify the underlying reasons for these irregularities. Common issues include mismanagement of resources, inadequate space, or stressors such as diseases or pests. Examine the cells carefully for signs of deformities or failure to mature. If cells appear empty or have no larvae, this suggests that the queen's absence or failure to lay eggs interferes with normal processes. Ensure the hive has ample ventilation and reduce overcrowding if it is evident. Remove any damaged queen cells to promote the development of healthy ones. Additionally, consulting experienced beekeepers can provide insights into previously encountered challenges and successful interventions. Regular monitoring and early intervention significantly improve outcomes for queen cell development.
Tips for Healthy Queen Production
Maintaining strong queen bee populations significantly influences the overall health and productivity of your bee colony. Follow these practical tips to ensure healthy queen production.
Maintaining a Strong Colony
Create a strong colony through consistent monitoring and management. Monitor the overall hive health regularly by checking for signs of disease or stress. Ensure adequate space is available within the hive, as overcrowding can lead to swarming and disrupt queen production. Establish healthy ratios of worker bees to brood, ensuring enough staff to care for developing queens.
Replace aging queens to stimulate continued growth and genetic diversity. Regular inspection for queen cells helps you assess if the colony is preparing to swarm. Manage the number of queen cells present, as retaining some can foster a stronger genetic foundation. Maintain a clean environment by controlling pests and diseases effectively, ensuring that the queen and worker bees thrive.
Feeding and Nutritional Considerations
Provide balanced nutrition to support queen production. Focus on feeding your bees with high-quality protein sources, such as pollen and sugar syrup, particularly during periods of low natural forage availability. Ensure that bees receive essential vitamins and minerals that promote overall health and reproductive success.
Monitor the food supply regularly, especially during late winter or early spring, when natural resources may be limited. Supplement colonies with sugar syrup or protein patties to enhance their nutrient intake. Reinforce weak colonies with additional resources to enable them to thrive. Pay attention to the bees' response to feeding, adjusting amounts as needed to support optimal queen development.
Conclusion
Understanding queen cells is vital for any beekeeper looking to maintain a healthy and productive hive. These structures not only ensure the survival of your colony but also promote genetic diversity. By regularly inspecting your hives and managing queen cells effectively, you can prevent potential issues and support the overall wellbeing of your bees.
Remember to equip yourself with the right tools and knowledge for inspections. This proactive approach will help you address challenges before they escalate, ensuring your bees thrive. By prioritizing queen cell management, you're taking significant steps toward a successful beekeeping journey.
Frequently Asked Questions
What are queen cells in a bee colony?
Queen cells are specialized structures in a bee colony where new queen bees develop. These elongated cells ensure the colony can maintain its hierarchy and health, particularly when a queen is aging or the hive is overcrowded.
Why are queen cells important for bee colonies?
Queen cells are crucial for reproduction and survival. They allow for the development of new queens, promote genetic diversity, and enable swarming, which helps avoid colony collapse during stressful situations.
How can I identify different types of queen cells?
There are four main types of queen cells: emergency queen cells (after a queen dies), swarm queen cells (due to overcrowding), supersedure queen cells (to replace an aging queen), and nectar queen cells (indicating good conditions for brood production).
What tools do I need for inspecting queen cells?
Essential tools include a bee suit, smoker, hive tool, frame grip, and vision aids like a magnifying glass. Protective gear is vital to ensure safety during hive inspections.
How often should I inspect for queen cells?
Regular inspections should be scheduled, ideally every two weeks during the spring and summer months. This helps monitor hive health, assess queen status, and check for queen cells.
What should I do if there are no queen cells?
If no queen cells are present, assess the queen's health and the hive's conditions. Consider introducing eggs or young larvae to stimulate queen cell production if necessary.
When should I remove queen cells?
Remove queen cells if the current queen is healthy and the colony is stable. However, if the queen is absent or the colony is preparing to swarm, maintaining some queen cells is essential for stability.
How can I maintain healthy queen production?
To ensure healthy queen production, monitor the colony regularly, maintain adequate hive space, replace aging queens, and provide a clean environment and high-quality nutrition.

Leave a comment