Crafting Magic: Exploring Candle Molds
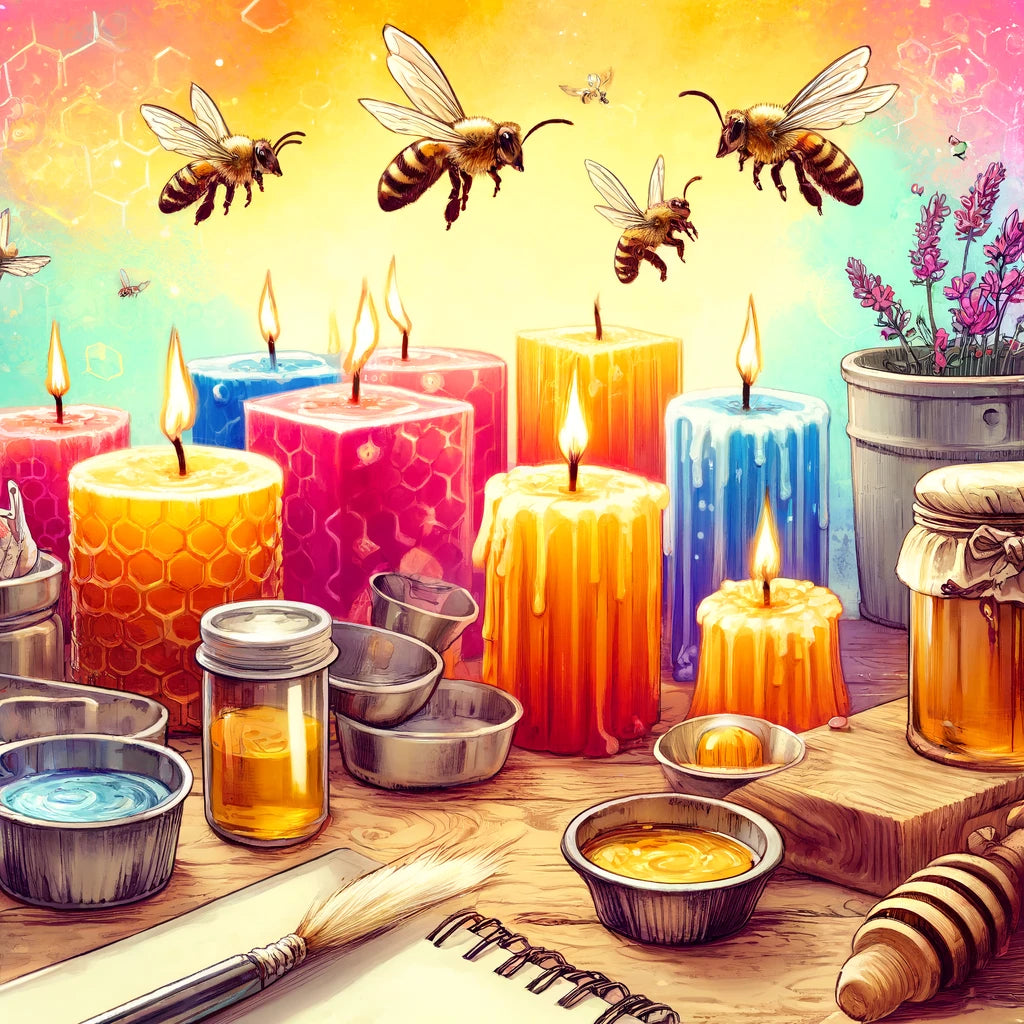
Beeswax candle making is a craft that marries the ancient tradition of using beeswax for light and warmth with modern design and creativity. The natural, sweet scent and clean burn of beeswax candles make them a cherished choice for artisans and enthusiasts.
Central to this craft is selecting a suitable mold, which can transform simple beeswax into a dazzling array of candles. From the simplicity of basic molds to the intricate details of themed designs, the choice of mold plays a pivotal role in the candle-making process.
Types of Beeswax Candle Molds
1. Basic Molds
Basic molds are the foundation of candle making. These molds typically come in straightforward shapes like cylinders, squares, and balls. They're perfect for beginners due to their simplicity and ease of use.
Basic molds focus on mastering the basics of beeswax candle making, such as proper temperature control, wax pouring, and wick centering. Despite their simplicity, candles made with basic molds can be customized by layering different colored waxes, embedding objects, or carving the candles post-unmolding for a personalized touch.
2. Decorative Molds
Decorative molds take the aesthetics of candle-making a step further. These molds come in various intricate designs, from elegant floral patterns to complex geometric shapes. Decorative molds are ideal for creating statement pieces that captivate attention and add a touch of sophistication to any setting. The detailed designs of these molds require a bit more care during the unmolding process to preserve the intricate details of the candle. They are perfect for crafters looking to showcase their skills or for special occasions where the candle serves as a centerpiece.
3. Holiday Molds
Holiday molds are specifically designed to celebrate seasons and special occasions. From Christmas trees and Halloween pumpkins to Easter eggs and Valentine's hearts, these molds allow crafters to create festive candles that add a personalized touch to holiday decor. Holiday molds can also be used to make thoughtful handmade gifts with a personal touch. Using these molds, beeswax candles can become a part of the tradition, bringing warmth and light to celebrations.
4. Miscellaneous Molds
Miscellaneous molds encompass various unique and sometimes whimsical shapes that don't fit neatly into other categories. These can include everything from animal shapes to abstract forms. Miscellaneous molds allow candle makers to experiment and express creativity in unexpected ways. They're perfect for making candles that start conversations, serve as focal points for interior design, or bring joy and surprise to crafting.
5. Nature Molds
Nature molds are inspired by the natural world, offering shapes like leaves, flowers, fruits, and seashells. These molds resonate with the organic composition of beeswax, creating candles that feel harmonious and grounded in nature. Nature molds are particularly appealing for those looking to create candles that complement eco-friendly lifestyles or rustic decor. The candles produced can also serve as a tribute to the beauty of the natural world, making them ideal for settings that celebrate the outdoors or for use in aromatherapy and relaxation spaces.
Tips for Creating Candle Molds For Sale
1. Understand Your Material
Know Your Beeswax: Different batches of beeswax can have varying colors and scents based on the flowers the bees have visited. Test small amounts to understand how your particular beeswax behaves in terms of melting, pouring, and setting.
Preparation is Key: Filter your beeswax to remove impurities. Even if the wax is pre-filtered, a second filtering can ensure a smoother finish.
2. Choose the Right Mold for Your Project
Match the Mold to the Wax: Some molds work better with beeswax than others due to its natural properties. Silicone and metal molds are typically recommended for their ease of use and clean release.
Consider the Design: If you're using decorative, holiday, or nature molds, think about how the design will interact with the natural color and texture of the beeswax. Intricate designs may be more challenging but rewarding.
3. Master the Pour
Temperature Control: Heat your beeswax to about 145-160°F (63-71°C) for pouring. Too hot, and the wax may shrink too much when cooling; too cool, and it may not fill the mold properly.
Pour Slowly: To avoid air bubbles and ensure a smooth surface, pour your melted beeswax slowly and steadily into the mold.
4. Adding Personality
Customize with Color and Scent: Although beeswax has a naturally delightful fragrance, you can add essential oils for a personalized scent. Use candle-safe dyes to tint your wax, but remember, beeswax's natural color will influence the final hue.
Embedments and Decorations: Consider adding non-flammable decorations like dried flowers or herbs to your mold before pouring the wax for a unique look.
5. Demolding with Care
Patience Pays Off: Allow your candle to cool and harden completely, which can take anywhere from several hours to overnight, depending on the size of the candle and the ambient temperature.
Ease the Release: If you're having trouble demolding a candle, placing the mold in the refrigerator for a short period can help the wax contract slightly, making it easier to remove without damage.
6. Finishing Touches
Trim the Wick: For a clean burn, trim the wick to about ¼ inch before lighting your candle for the first time.
Smooth Out Imperfections: If your candle has rough spots or blemishes, you can use a heat gun on a low setting to gently melt the surface and smooth it out.
7. Reflect and Adjust
Learn from Each Candle: Each candle you make is an opportunity to learn. Reflect on what worked well and what could be improved for next time.
Experiment: Don't be afraid to try new techniques, molds, or designs. Experimentation is at the heart of creativity and can lead you to your next great candle creation.
Conclusion
The craft of making beeswax candles combines the ancient allure of natural light with the personal touch of modern creativity. By exploring the vast array of molds available—from the simplicity of basic designs to the intricate beauty of decorative, holiday, nature, and miscellaneous molds—candle makers can transform beeswax into stunning, luminous creations.
The tips provided here serve as a foundation for success, guiding both novice and experienced artisans through the process of selecting the right mold, preparing the wax, and adding personal touches to make each candle a unique piece of art.
Frequently Asked Questions About Beeswax Candle Monds
What is the best type of mold for beginner candle makers?
Basic molds, particularly silicone ones, are great for beginners due to their ease of use and flexibility, making the demolding process simpler.
Can I add fragrances to beeswax candles?
Yes, you can add essential oils to beeswax to create custom scents. However, remember that beeswax has a natural honey-like scent that will blend with whatever fragrance you choose.
How do I prevent my beeswax candle from cracking?
To prevent cracking, ensure that the beeswax is poured at the correct temperature (around 145-160°F or 63-71°C) and that the candle cools slowly in a warm, draft-free area.
How can I make my beeswax candles burn longer?
Ensuring your candle has the correct wick size and trimming the wick to about ¼ inch before each burn can help your beeswax candles burn longer and more evenly.
How do I clean my molds after use?
Silicone and metal molds can be wiped clean with a cloth after use. If wax residue is stubborn, placing the mold in the freezer for a short period can make the wax easier to remove.
Can I reuse beeswax from old candles to make new ones?
Yes, you can melt down remnants of old beeswax candles to create new ones. Just be sure to filter the melted wax to remove any debris or old wick pieces before pouring.
Why does my beeswax candle have a rough surface after demolding?
A rough surface can result from pouring the wax at too low a temperature or cooling the candle too quickly. Try pouring at a slightly higher temperature and cooling the candle in a warmer spot.

Comments
Leave a comment