Why Evercoat Plastic Honey Is a Must-Have for Your Auto Repair Projects
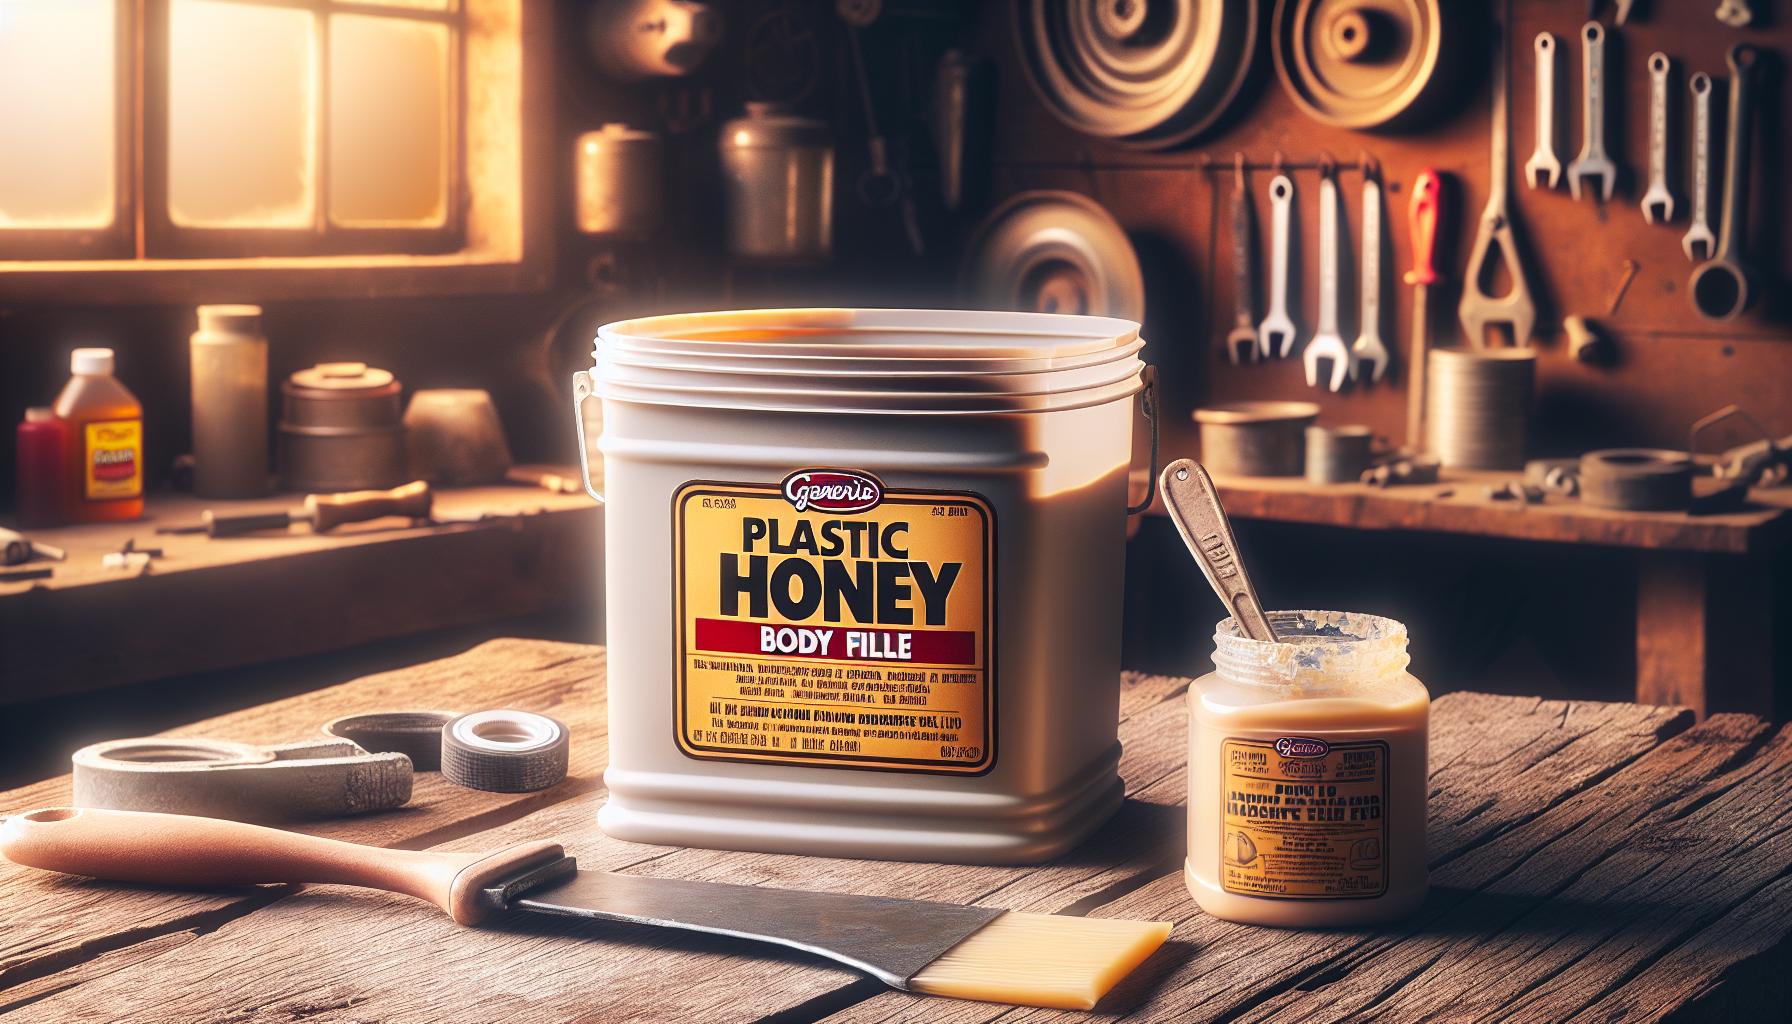
When it comes to automotive repairs and refinishing, choosing the right materials can make all the difference. Evercoat Plastic Honey stands out as a game-changer in the world of body fillers and adhesives. This innovative product offers unmatched versatility and performance, allowing you to tackle a variety of projects with confidence. Whether you're working on minor repairs or larger restoration jobs, its unique formulation provides a durable and reliable solution.
What sets Evercoat Plastic Honey apart is its ease of use and excellent adhesion properties. You’ll find it perfect for bonding plastics, fiberglass, and even metal surfaces. Plus, its lightweight nature makes it a favorite among professionals and DIY enthusiasts alike. If you're looking to elevate your repair game, understanding the benefits and applications of Evercoat Plastic Honey is essential. Dive in and discover how this remarkable product can transform your projects.
What Is Evercoat Plastic Honey?
Evercoat Plastic Honey is an advanced body filler designed for automotive repairs. This product combines flexibility and strength, making it ideal for a range of applications. The formulation consists of a lightweight resin that cures quickly and adheres well to various surfaces.
Evercoat Plastic Honey serves as an effective solution for fixing dents, scratches, and other imperfections. This product is versatile, suitable for both large projects and minor touch-ups. It bonds securely to surfaces such as plastics, fiberglass, and metals, ensuring a strong repair.
You can easily use Evercoat Plastic Honey in a few steps. First, prepare the surface by cleaning it thoroughly to remove dirt and grease. Next, mix the filler according to the manufacturer's instructions. Apply the filler to the damaged area using a putty knife or spreader, ensuring even coverage. Allow it to cure completely before sanding. Sand the area smooth for a seamless finish.
This product's lightweight nature enhances its appeal for professionals and DIY enthusiasts. It helps in maintaining the structural integrity of the vehicle while keeping repairs straightforward and efficient. You gain a reliable product that simplifies the refinishing process.
In addition to automotive applications, you can use Evercoat Plastic Honey for household repairs on surfaces requiring strong adhesion and flexibility. Its adaptability makes it a go-to choice for various restoration projects. The favorable drying time allows for quick progression from application to finishing touches, saving time.
Understanding the properties of Evercoat Plastic Honey enables you to achieve high-quality results in your repair work. Its unique formulation offers durability and ease of use, truly making it a valuable addition to any repair toolkit.
Materials Needed
Gathering the right materials ensures successful application of Evercoat Plastic Honey. The following items provide all necessary components for a smooth repair process.
Evercoat Plastic Honey
Evercoat Plastic Honey stands as a versatile body filler and adhesive designed for automotive repairs. This lightweight product features strong adhesion to various surfaces such as plastic, fiberglass, and metal. Its flexibility allows for application in diverse situations, making it suitable for minor fixes or larger restoration projects. You can easily achieve a smooth finish with Evercoat Plastic Honey, promoting durability and effectiveness in repairs.
Hardener
Hardener represents a crucial component in the application of Evercoat Plastic Honey. The hardener ensures the filler achieves a solid state after mixing. Follow the manufacturer's instructions carefully to maintain the correct mixing ratio, usually a 2:1 ratio of filler to hardener. This balance guarantees optimal curing and strength. Using too little hardener may lead to a soft and ineffective product while too much can result in brittleness. Ensure to mix thoroughly for a uniform consistency before application.
Mixing Container
Mixing Container plays an essential role in preparing Evercoat Plastic Honey. Opt for a clean, disposable container that accommodates the volume of filler and hardener being mixed. Choose containers made from materials that resist chemicals to avoid reactions. A small paint mixing tray or a plastic cup works well for smaller projects, while larger containers suit bigger applications. Ensure your workspace remains tidy by discarding the container after use to prevent contamination of future mixtures.
Application Tools
Application Tools are necessary for effectively working with Evercoat Plastic Honey. Select a quality putty knife or spreader for applying the filler. A flexible knife allows for easier spreading and smoothing of the surface. For sanding purposes, utilize sanding blocks or pads of varying grit to refine the finish after the filler cures. Having these tools on hand promotes efficiency and helps achieve a professional-looking result in your repair projects.
Preparation Steps
Proper preparation is critical when using Evercoat Plastic Honey. Following a straightforward process ensures an optimal application and a long-lasting repair.
Ensure Clean Surface
Cleaning the surface to which you will apply the filler is essential for achieving strong adhesion. Start by removing any dirt, oil, or debris from the area. Use a suitable cleaner, such as soap and water, or automotive surface cleaner for more stubborn substances. Dry the surface thoroughly before proceeding.
After cleaning, inspect for any loose paint or rust. Sand or scrape away these imperfections to create a smooth and stable base for the filler. If necessary, use a degreaser to ensure that all contaminants are eliminated. A clean surface enhances the product's bonding capabilities and leads to more effective results.
Determine Mixing Ratio
Accurate measurement of the mixing ratio is crucial for the performance of Evercoat Plastic Honey. The standard recommendation is to mix the filler with a hardener in a specific ratio, often found on the product label. Typically, a small amount of hardener, around 2% to 5% of the filler volume, suffices for proper curing.
Use a clean mixing container and a mixing tool to blend the filler and hardener. Ensure that the mixture achieves a consistent color without streaks. This uniformity indicates a proper mix and prepares the filler for application. Adhering to the manufacturer's instructions guarantees that the mixture cures effectively for a durable repair.
Mixing Evercoat Plastic Honey
Proper mixing of Evercoat Plastic Honey ensures strong adhesion and lasting results. Follow these steps to get the right mixture.
Measure the Components
Measuring components accurately affects the outcome of your repair. Use a mixing container with clear measurement markers. For optimal results, combine two parts filler to one part hardener. This ratio typically translates to 2% to 5% of the filler volume. For example, if you use 200 grams of filler, add 4 to 10 grams of hardener. Always use a precise scale for best accuracy. Avoid eye-balling measurements as this can lead to inconsistent curing.
Follow the manufacturer's instructions regarding the specific mixing ratio. Adapt measurements based on the amount of filler used while ensuring the hardener ratio stays within recommended limits. Have your tools ready and organized, including mixing containers and stir sticks, ensuring a smooth process. Taking these precautionary steps leads to improved adhesion and durability in your repairs.
Mix Thoroughly
Thorough mixing promotes even distribution of the hardener throughout the filler. Start by placing the measured filler in your mixing container. Add the hardener immediately afterward. Using a clean mixing tool, stir the mixture for approximately 2 to 3 minutes. Be sure to scrape the sides and bottom of the container to incorporate all components.
Look for a uniform color throughout the mixture; this indicates complete blending of the filler and hardener. Avoid excessive air bubbles during mixing, as they can weaken the final application. If bubbles form, gently tap the container against a flat surface to release them. Ensuring that the mixture maintains a consistent texture leads to improved performance and a smoother finish when applied. Proper mixing lays the foundation for achieving high-quality results in your repair projects.
Application Process
The application process for Evercoat Plastic Honey consists of several straightforward steps. Each step ensures an effective and durable outcome for your repair work.
Apply Plastic Honey
Start by mixing the filler and hardener according to the recommended ratio of 2% to 5% of the filler volume. Pour the desired amount of Evercoat Plastic Honey into a mixing container. Add the hardener and mix thoroughly until achieving a uniform color without streaks. Use a putty knife for application. Apply the mixture to the prepared surface with firm pressure, ensuring it fills any dents or cracks completely. Smooth the surface by working in one direction. Allow the filler to cure at room temperature, adhering to the manufacturer's recommended curing time.
Shape and Smooth the Surface
Once the filler cures, the next step involves shaping and smoothing the surface for a professional finish. Use a sanding block with medium-grit sandpaper to start leveling the applied filler. Sand in a circular motion to avoid flat spots and create an even surface. Transition to fine-grit sandpaper for a smoother finish, ensuring all edges blend seamlessly with the surrounding area. Regularly inspect the surface to check for evenness. Repeat sanding as needed until satisfied with the result. Cleaning the area after sanding removes dust and ensures proper adhesion for any additional fillers or paints applied later.
Curing and Drying
Curing and drying of Evercoat Plastic Honey play critical roles in achieving optimal results. Understanding these aspects ensures effective application and long-lasting repairs.
Recommended Curing Time
Six hours provides adequate time for Evercoat Plastic Honey to cure at room temperature. Full curing may take up to 24 hours, depending on the thickness of the application and environmental conditions. In cooler temperatures, consider extending the curing time to achieve a robust finish. For best results, avoid exposing the cured product to moisture or stress during this period. Always refer to the manufacturer's recommendations for specific curing times based on your application needs.
Factors Affecting Curing
Temperature significantly impacts the curing process. Higher temperatures often lead to faster curing times, while cooler conditions slow it down. Humidity also affects curing; high humidity can extend the drying process. Thickness of the application influences curing duration as thicker layers take longer to cure fully. Additionally, the mix ratio of filler to hardener directly impacts curing effectiveness. Ensuring accurate measurements enhances overall performance, leading to a stronger and more durable finish. Always evaluate these factors to ensure successful results with Evercoat Plastic Honey.
Troubleshooting Common Issues
When working with Evercoat Plastic Honey, encountering issues may occur. Identifying and addressing these problems ensures optimal results in your automotive repairs or refinishing projects.
Poor Adhesion
Poor Adhesion results from several factors, including surface preparation and mixing ratios. Ensuring a clean surface before application removes contaminants such as dirt, oil, or rust. Scrub the area with a suitable cleaner and sand it to create a rough texture, enhancing grip for the filler.
Accurate mixing of the filler and hardener significantly impacts adhesion. Use a ratio of 2% to 5% hardener based on the filler volume for proper curing. Stir the mixture thoroughly to ensure even distribution of the hardener. If you find adhesion issues persist, consider using a primer suitable for plastics or metals, which can improve bonding strength.
Uneven Surface Finish
Uneven Surface Finish often arises from improper application techniques. When using a putty knife, apply the filler in thin layers, building up gradually to avoid lumps. Smooth out each layer before applying the next one.
Sanding is critical in achieving a flat and smooth surface. Use medium-grit sandpaper to start, gradually moving to finer grits for a polished look. Pay attention to the sanding process, ensuring even pressure and consistent movements. If you notice imperfections after sanding, a second application of plastic honey may be necessary.
Curing Problems
Curing Problems can lead to inadequate hardening or finish defects. Temperature and humidity levels play a vital role in the curing process. The optimal curing temperature ranges from 65°F to 85°F. Adjusting the working environment can help ensure proper curing.
Check the mixing ratios because excess hardener or filler can disrupt this process, leading to tacky or soft spots. For thick applications, allow extended curing times. If curing issues become apparent, exposing the area to a warm, dry environment can accelerate the process without causing damage to the plastic honey.
Helpful Tips for Best Results
Maximize your use of Evercoat Plastic Honey by following these helpful tips.
Temperature Considerations
Maintain an ideal temperature range of 60°F to 85°F during application and curing. Lower temperatures can slow down the curing process while excessive heat may cause premature curing. Check the working area to ensure it's free of drafts, as they can affect the curing time. For the best results, avoid applying the filler in direct sunlight or high humidity conditions, since these factors can interfere with proper adhesion. Consistent temperature also enhances the effectiveness of the filler. If working in colder environments, consider using a space heater or heat lamp to achieve the right conditions.
Storage Recommendations
Store Evercoat Plastic Honey in a cool, dry place away from direct sunlight and extreme temperatures. Ensure the container remains tightly sealed when not in use to prevent moisture ingress, which can affect the filler’s performance. The ideal storage temperature is between 60°F and 80°F. Avoid exposing the product to freezing temperatures, as this can lead to separation of components and alter its effectiveness. Regularly check expiration dates and discard any expired products to maintain high-quality repairs. Following these storage practices promotes longevity and preserves the filler’s properties for future use.
Conclusion
Evercoat Plastic Honey stands out as a top choice for anyone looking to tackle automotive repairs and refinishing. Its versatility and ease of use make it a go-to for both professionals and DIY enthusiasts alike. By following the proper preparation and application techniques, you can achieve a smooth and durable finish.
Remember to pay attention to the mixing ratios and curing conditions to ensure optimal results. With the right approach, you can transform imperfections into seamless repairs. Whether you're fixing a small dent or a larger restoration project, Evercoat Plastic Honey equips you with the tools you need for success. Embrace this innovative product and elevate your repair game today.
Frequently Asked Questions
What is Evercoat Plastic Honey?
Evercoat Plastic Honey is an advanced body filler and adhesive designed for automotive repairs and refinishing. Its unique formula provides excellent adhesion to surfaces like plastics, fiberglass, and metal, making it versatile for both minor fixes and larger restoration projects.
How do I apply Evercoat Plastic Honey?
To apply Evercoat Plastic Honey, start by preparing the surface—clean it thoroughly and inspect for any loose paint or rust. Then, mix the filler and hardener according to specified ratios, apply it with a putty knife, and allow it to cure. Sand it down for a smooth finish once cured.
What materials do I need for using Evercoat Plastic Honey?
You will need Evercoat Plastic Honey, a hardener, a mixing container, a putty knife for application, and sanding blocks for finishing. Accurate measurement and mixing tools are crucial for achieving optimal results, so ensure you have the right equipment.
How long does it take for Evercoat Plastic Honey to cure?
Evercoat Plastic Honey typically cures in about six hours at room temperature. However, full curing can take up to 24 hours, depending on application thickness and environmental factors like humidity and temperature.
What common issues can occur when using Evercoat Plastic Honey?
Common issues include poor adhesion due to inadequate surface preparation, uneven finishes from improper application techniques, and curing challenges caused by environmental conditions. Proper mixing, surface cleaning, and following guidelines can help minimize these problems.
Can I use Evercoat Plastic Honey for non-automotive repairs?
Yes, Evercoat Plastic Honey is versatile enough for household repairs beyond automotive applications. Its flexibility and strength make it suitable for fixing various imperfections around the home, making it a handy product for DIY enthusiasts.
What temperature is ideal for using Evercoat Plastic Honey?
The ideal temperature for applying and curing Evercoat Plastic Honey is between 60°F and 85°F. Maintaining this temperature range helps ensure optimal adhesion and curing performance, leading to durable repair work.
How do I store Evercoat Plastic Honey?
Store Evercoat Plastic Honey in a cool, dry place away from direct sunlight and extreme temperatures. Proper storage will extend the product's shelf life and ensure it remains effective for your repair projects.
Ready to Take Your Repairs to the Next Level?
Whether you're fixing a fender or tackling a full restoration, Evercoat Plastic Honey is the go-to solution for durable, professional results. Don't settle for ordinary fillers—upgrade your toolkit today and experience the difference.
Explore Evercoat Plastic Honey Now and make your next project your best one yet!

Leave a comment