Understanding Queen Bee Cells: Key to Healthy Beekeeping Practices
In the fascinating world of beekeeping, understanding the queen bee cell is essential for maintaining a healthy hive. These unique structures play a crucial role in the lifecycle of a colony, serving as the nursery for future queens. When a hive needs to replace its queen or swarm, the worker bees create these specialized cells to ensure the survival and continuity of their community.
Queen bee cells are larger and differently shaped than regular honeycomb cells, designed specifically to nurture the developing queens. The process of raising a new queen involves a delicate balance of nutrition and care, making it a captivating aspect of bee behavior. Whether you're a seasoned beekeeper or just starting, grasping the significance of queen bee cells will deepen your appreciation for these remarkable insects and enhance your beekeeping practices.
Understanding Queen Bee Cells
Queen bee cells play an essential role in beekeeping and the lifecycle of bee colonies. These specialized cells serve as nurseries for future queens, ensuring a strong leadership presence within the hive during critical times.
What Is a Queen Bee Cell?
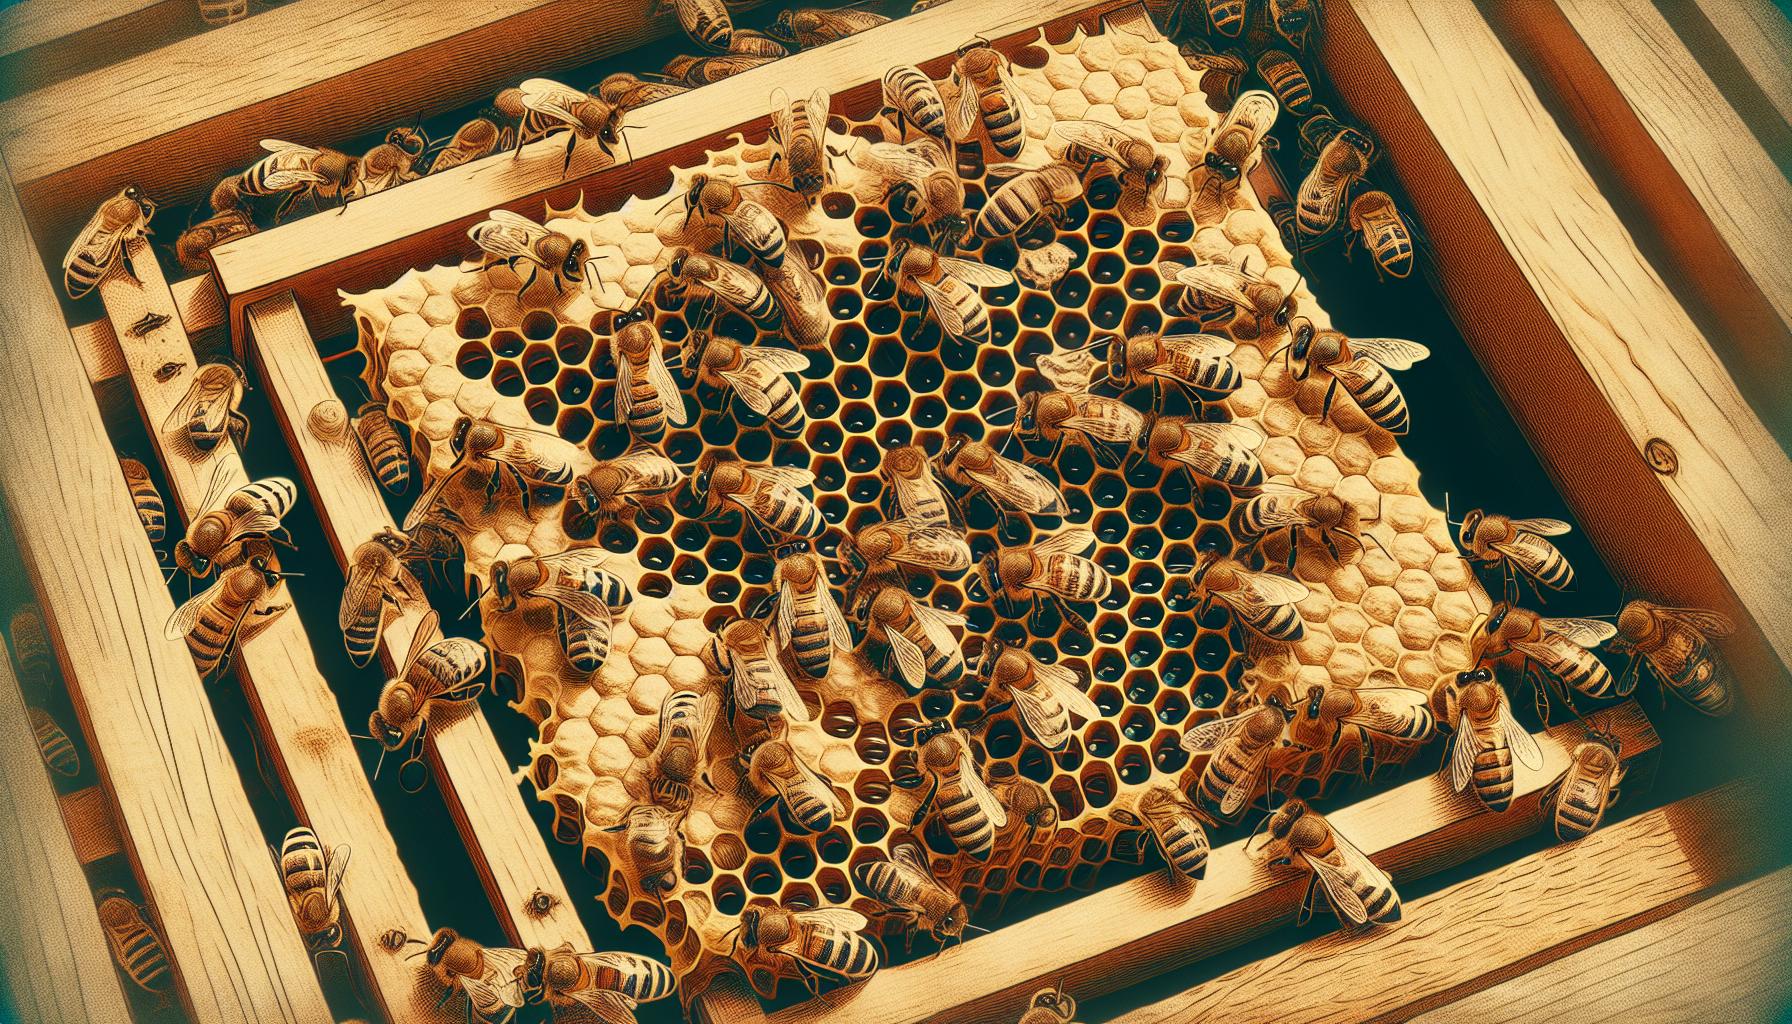
Queen bee cells are distinct structures found in beehives, designed solely for the development of queen bees. Larger and more elongated than standard honeycomb cells, they exhibit a unique shape that accommodates the growth of a larva into a queen. The process begins with worker bees selecting several fertilized eggs and placing them in these specially constructed cells. The larva inside a queen bee cell receives royal jelly, a nutrient-rich substance produced by workers, promoting rapid growth and development. This selection process and cell design ensure the emergence of a healthy queen when necessary, such as during swarming or when the existing queen is lost.
Importance of Queen Bee Cells in the Hive
Queen bee cells hold significant importance in the hive, contributing to the overall health and productivity of the colony. When a colony's queen is failing, absent, or when swarming occurs, the creation of queen cells ensures continuity in leadership. Healthy queen development leads to several advantages, such as efficient egg-laying and increased hive productivity. A strong queen lays thousands of eggs per day, which sustains the population of the colony. Furthermore, clear identification of queen cells allows beekeepers to monitor hive health. Recognizing when and why queen cells form can guide management decisions, promoting better beekeeping practices and enhancing hive sustainability.
Materials Needed for Queen Bee Cell Construction
Building queen bee cells requires specific materials that ensure successful development. Below are the key components essential for constructing queen bee cells.
Beeswax
Beeswax plays a vital role in queen bee cell construction. This natural substance is secreted by worker bees and forms the foundation of honeycomb structures. Opt for high-quality beeswax with a fine consistency to facilitate easier handling. When forming queen cells, melted beeswax can be poured into molds to create the desired shape. Ensure that the molds are clean and free from contaminants to promote healthy cell development. Bees create cells instinctively, so providing them with pure beeswax significantly enhances their ability to produce viable queen bees.
Cell Cups
Cell cups provide the specific environment required for raising queen bees. These cups, often made from plastic or specialized materials, serve as individual containers for the fertilized eggs. Select cell cups that mimic the natural size and shape of a queen cell. Adequate drainage holes may assist in moisture control, preventing excess humidity. Position the cell cups securely in a brood frame or designated area within the hive to facilitate worker bees' access. Ensure that the quality of these cups supports the healthy growth of future queens, reflecting the nurturing environment preferred by bees.
Brood Frame
A brood frame offers structured support for the queen bee cell construction process. Choose a standard-sized brood frame that fits your beehive design. The frame should allow for arrangement flexibility while housing the queen cells. Proper placement of the brood frame within the hive enables easy monitoring and access for worker bees. Additionally, ensure that the frame contains a sufficient amount of sealed and open brood, which signifies a healthy colony environment. This condition invites worker bees to attend to the new queen cells effectively, promoting optimal development conditions.
Tools for Crafting Queen Bee Cells
Proper tools enhance the process of crafting queen bee cells, ensuring effective management and development of future queens. Below is a breakdown of essential tools utilized in this practice.
Hive Tool
Hive tools are essential for accessing the hive and managing frames. This sturdy tool helps pry apart frames, scrape excess wax, and displace bees without unnecessary harm. Look for a hive tool with a flat end for lifting frames and a curved end for scraping. High-quality metal provides durability and longevity. Proper use minimizes disruption to bee colonies while facilitating cell construction. Regularly inspect the hive tool for wear and damage to maintain efficient operation. A well-maintained hive tool aids in smoother inspections, fostering successful queen cell development.
Foundation Frame
Foundation frames serve as the basis for building cells. These frames typically come with pre-formed sheets of beeswax or plastic, mimicking natural comb. Selecting frames that closely replicate queen cell specifications promotes proper growth. Follow these steps for optimal results:
- Install the foundation: Ensure it fits snugly into the brood frame.
- Position in the hive: Place the frame in an area that receives adequate warmth and humidity.
- Monitor progress: Regularly check for bee activity and cell construction.
Using high-quality foundation frames boosts the chances of healthy queen larvae development. Opt for frames designed specifically for raising queens when managing your bee colony.
Bee Brush
A bee brush proves indispensable when working around your bees. This soft bristled tool allows for gentle handling, minimizing stress on the bees while transferring them or moving them aside. Use it to clear bees from the queen cell area or while placing frames back into the hive. Follow these tips for effective use:
- Light strokes: Use light strokes to avoid injury to the bees.
- Approach calmly: Move steadily while brushing to prevent agitating the bees.
- Store properly: Keep the brush clean and free from debris.
Implementing a bee brush in your toolkit enhances the overall handling experience during queen cell management and promotes a peaceful hive environment.
Steps to Create Queen Bee Cells
Creating queen bee cells involves several key steps that ensure the healthy development of future queens. Follow these steps closely for optimal results.
Selecting the Right Frame
Select a brood frame that contains young larvae or open brood. Choose frames that are clean and free from pests. Ensure that you have at least one frame with honey and pollen to provide nutrition. Remove any old comb to prevent diseases. Check that the frame is part of a strong colony, as a thriving hive increases the chances of successful queen cell creation. Position the frame in the middle of the hive for optimal warmth and accessibility. Once you settle on the right frame, prepare for the next step in the process.
Preparing the Cell Cups
Prepare cell cups by using high-quality, specialized materials. Plastic cell cups work effectively as they imitate the natural shape of queen bee cells. Clean the cups to eliminate debris or contaminants. Ensure that the cups are firmly secured to the frame or honeycomb. Moisture conservation is crucial, so consider placing the cups in an area with adequate humidity. Fill each cell cup with a small amount of royal jelly for nourishment. This step promotes swift growth for the larvae that will occupy the cells. After preparing the cups, move on to introducing the worker bees for the final stages.
Introducing Worker Bees
Introduce worker bees to the prepared cell cups to facilitate egg laying. Select a group of worker bees from the hive, aiming for at least 20 to 30. Gently brush the bees towards the cell cups. Monitor their activity to ensure they accept the cups and start feeding on the royal jelly. Avoid overwhelming the bees; a slow introduction helps them adapt to the new setup. Worker bees will begin to lay fertilized eggs in the cell cups within 2 to 3 days. Watch for signs of acceptance, such as bees clustering around the cups and attending to the larvae. Once the bees settle in, the cells will begin the development process for future queens.
Caring for Queen Bee Cells
Caring for queen bee cells involves careful monitoring and providing optimal conditions for the developing queens. Practicing these methods contributes to healthy queen development and strengthens the hive.
Monitoring Growth and Development
Regularly inspect queen bee cells to track the growth and overall health of the larva. Observe the color and size of the cells, noting any abnormalities that may indicate issues. Employ a hive tool for safe access and avoid disturbing other bees. Watch the development stages from larva to pupae, ensuring no signs of disease or pests. Especially look for any signs of queen cell cannibalism or abandonment, which may signal problems within the colony. Overall, consistent monitoring allows for timely interventions if issues arise, ensuring strong and viable queens.
Ensuring Proper Environmental Conditions
Maintaining optimal environmental conditions for queen bee cells remains crucial. Ensure the hive temperature stays warm, ideally between 90°F and 95°F. Install proper insulation if necessary to retain heat. Adequate humidity levels support the cells, promoting healthy development. Keep the hive away from harsh weather and direct sunlight, benefiting from moderate, stable conditions. Bees must have access to enough ventilation to maintain air quality without causing drafts. This environment allows larvae to grow and develop properly, fostering strong future queens.
Feeding Requirements
Cosure adequate feeding for larva in queen bee cells to promote healthy development. Worker bees should provide royal jelly to newly laid eggs in each cell. This nutrient-rich substance plays a vital role in fostering future queens. Regularly check supply levels of pollen and nectar in the hive, vital for larval nutrition. Encourage worker bees to replenish these resources. Maintain a balanced diet for the colony; a healthy hive contributes significantly to the successful development of queens. Implement feeding strategies when natural resources are scarce, ensuring the larvae receive everything they need to thrive.
Common Issues with Queen Bee Cells
Common issues can arise during the development of queen bee cells. Understanding these problems helps improve the health of your hive and the future queens.
Signs of Failed Queen Development
Signs indicate failed queen development, which can affect the entire colony. Watch for the following:
- Lack of brood: If few or no new eggs or larvae appear, queen development likely fails.
- Abnormal cell appearance: Queen cells that appear dry, misshapen, or damaged signal poor conditions.
- Insufficient worker bee activity: A decrease in worker bee numbers around queen cells suggests inadequate support.
- Aggressive behavior: Increased aggression among bees may indicate stress due to a failing queen.
By monitoring these signs, you can identify issues early and take action to rectify them.
Addressing Disease and Infestation
Diseases and pests can harm queen cells and overall colony health. Effective solutions exist to address these threats:
- Inspect regularity: Conduct routine hive inspections to catch diseases like American foulbrood or chalkbrood early.
- Use appropriate treatments: Apply approved treatments for specific diseases while adhering to local regulations.
- Manage pests: Utilize strategies for pest management, such as monitoring for Varroa mites and applying integrated pest management techniques.
- Maintain hive hygiene: Keeping your hive clean and organized minimizes disease risk.
By proactively addressing these issues, you protect your queen cells and the entire hive.
When to Replace Queen Bee Cells
Knowing when to replace queen bee cells is crucial for maintaining a healthy colony. Replacement might become necessary under certain conditions:
- Failing queen: If a queen cell does not develop properly or the queen emerges weak, replacement supports colony health.
- Poor mating success: Insufficient drone availability or unfavorable weather can lead to poor queen mating rates, prompting replacement.
- Insufficient worker population: If worker bees show reduced activity or numbers, reevaluating the queen cell may prove beneficial.
Regular evaluations of queen cells and their surrounding conditions can guide timely replacements, ensuring hive vitality.
Alternative Methods for Raising Queen Bees
Multiple methods exist for raising queen bees besides the conventional approach discussed earlier. Each technique offers distinct advantages and opportunities for beekeepers.
Natural Queen Rearing
Natural queen rearing occurs when bees initiate the process. Bees identify a need for a new queen due to factors such as aging, queen loss, or swarming. Typically, worker bees select several fertilized eggs or young larvae, placing them in specially constructed queen cells. These cells receive abundant royal jelly, promoting rapid growth.
Signs of natural queen rearing include increased production of queen cells in the hive and noticeable changes in worker bee behavior. Observing these signs gives beekeepers an opportunity to manage the process effectively. Providing a conducive environment enhances the chances of successful queen rearing, including maintaining hive health and a balanced worker population.
By allowing bees to manage their queen rearing, you gain insights into the colony's needs. This method supports bee behavior and ensures natural selection processes are at work.
Grafting Technique
Grafting technique involves transferring larvae into queen cell cups. The method begins with selecting larvae aged between 12 and 24 hours from a strong brood frame. Carefully remove each larva and place it into a prepared cell cup filled with royal jelly.
Proper timing and conditions significantly affect grafting success. Beekeepers often prepare a queenless colony or a strong colony needing a new queen for receiving grafted cells. Monitoring temperature and humidity helps foster an ideal environment for cell development.
Once queen cells develop, regular inspections ensure healthy progression. This technique requires precision but allows for control over genetic traits. Grafting ensures that you can raise queens with desired qualities, contributing to strong colonies.
Utilizing these alternative methods enhances your beekeeping skills, ensuring robust queen production for healthier hives.
Helpful Tips for Successful Queen Bee Cell Production
Best Practices for Hive Management
Hive management plays a crucial role in successful queen bee cell production. Maintain a strong colony with healthy worker bees as they are essential for nurturing queen cells. Monitor population dynamics regularly to ensure enough adult bees are present to support the queen's development. Rotate frames to promote even brood distribution, helping to keep worker bees engaged. Provide adequate food supplies like sugar syrup and pollen to support the bees and their activities. Avoid using chemicals that may harm bees, opting instead for organic pest controls when necessary. Regular inspections help identify issues early, facilitating timely interventions to maintain hive health.
Timing and Seasonal Considerations
Timing and seasonal factors greatly influence the success of queen bee cell production. Begin the process in late spring or early summer when colonies are active and strong. Monitor environmental conditions, such as temperature and available food sources, to gauge the right moment for queen cell production. Set an appropriate schedule for grafting larvae based on the life cycle of your bees, ensuring eggs are introduced during peak foraging times. Recognize when hives experience swarming behavior, as this prompts the need for new queens. Seasonal adjustments to management practices enhance queen rearing success, leading to healthier and more productive hives.
Conclusion
Mastering the art of queen bee cell production is essential for any beekeeper looking to maintain a thriving hive. By understanding the intricacies of queen cell development and the materials and tools needed, you can ensure the health and productivity of your colony.
Regular monitoring and timely interventions are key to addressing potential issues that may arise during the queen rearing process. Embracing both traditional and alternative methods for raising queens can enhance your beekeeping practices.
Ultimately, a strong queen leads to a robust hive, making your efforts in queen bee cell management a vital aspect of successful beekeeping. With dedication and knowledge, you'll foster a healthier environment for your bees and enjoy the rewards of a flourishing colony.
Frequently Asked Questions
What are queen bee cells in beekeeping?
Queen bee cells are specialized structures built by honeybees to nurture future queens. They are larger and uniquely shaped compared to regular honeycomb cells and are essential when a hive needs to replace its queen or swarm.
Why are queen bee cells important for a bee colony?
Queen bee cells play a critical role in ensuring the colony's health and productivity. Healthy queen development leads to strong leadership, efficient egg-laying, and overall hive vitality.
How do queens develop in queen bee cells?
Worker bees select fertilized eggs and place them in queen bee cells, where larvae are fed royal jelly to promote rapid growth, facilitating development into new queens.
What materials are needed to construct queen bee cells?
Essential materials for queen cell construction include high-quality beeswax for honeycomb, cell cups made from plastic or specialized materials, and standard-sized brood frames for support during development.
What tools are required for making queen bee cells?
Key tools include a hive tool for accessing the hive, foundation frames as a base for cells, and a bee brush for gentle handling of bees, all crucial for effective queen cell management.
How do you create queen bee cells?
Start by selecting a suitable brood frame with young larvae, prepare high-quality cell cups with royal jelly, and ensure worker bees are introduced to facilitate egg laying for optimal queen development.
What care do queen bee cells need during development?
Regular inspections are vital to monitor growth, including maintaining appropriate hive temperature, humidity, and ensuring worker bees supply sufficient royal jelly for healthy queen larvae.
What common issues can arise with queen bee cells?
Signs of failed queen development include lack of brood, abnormal cell appearance, and aggressive bee behavior. Regular monitoring helps detect these issues early for corrective action.
When should you replace queen bee cells?
Replace queen bee cells if signs of queen failure appear, such as poor mating success or insufficient worker populations. Timely evaluations ensure hive vitality and continuity.
What are alternative methods for raising queen bees?
Alternative methods include natural queen rearing, where bees select larvae for cells, and the grafting technique, which involves transferring larvae to prepared cups, allowing beekeepers control over genetic traits.

Leave a comment